【前端】用jQuery实现瀑布流效果
jQuery实现瀑布流效果
何为瀑布流:
瀑布流,又称瀑布流式布局。是比较流行的一种网站页面布局,视觉表现为参差不齐的多栏布局,随着页面滚动条向下滚动,这种布局还会不断加载数据块并附加至当前尾部。最早采用此布局的网站是Pinterest,逐渐在国内流行开来。国内大多数清新站基本为这类风格。
瀑布流的应用:
瀑布流对于图片的展现,是高效而具有吸引力的,用户一眼扫过的快速阅读模式可以在短时间内获得更多的信息量,而瀑布流里懒加载模式又避免了用户鼠标点击的翻页操作,瀑布流的主要特性便是错落有致,定宽而不定高的设计让页面区别于传统的矩阵式图片布局模式,巧妙的利用视觉层级,视线的任意流动又缓解了视觉疲劳,同时给人以不拘一格的感觉,切中年轻一族的个性化心理。[1] 国内类Pinterest网站也如雨后春笋般出现,已知网站超40家,类Pinterest网站有四种,一是电商导购,如想去网、蘑菇街和美丽说、好享说、依托于淘宝平台;二是兴趣图谱分享,如知美、花瓣等;三是在细分垂直领域,如针对吃货的零食控、针对家居行业的他部落等。四是服装款式设计资讯平台如看潮网等等。
优
应用案例:
通用类:豆瓣市集,花瓣网,我喜欢,读图知天下
美女图片:图丽网
时尚资讯类:看潮网
时尚购物类:蘑菇街,美丽说,人人逛街,卡当网
品牌推广类:凡客达人
家居o2o类:新巢网小猫家
微博社交类: 都爱看
搞笑图片类:道趣儿
艺术收藏类:微艺术
潮流图文分享:荷都分享网
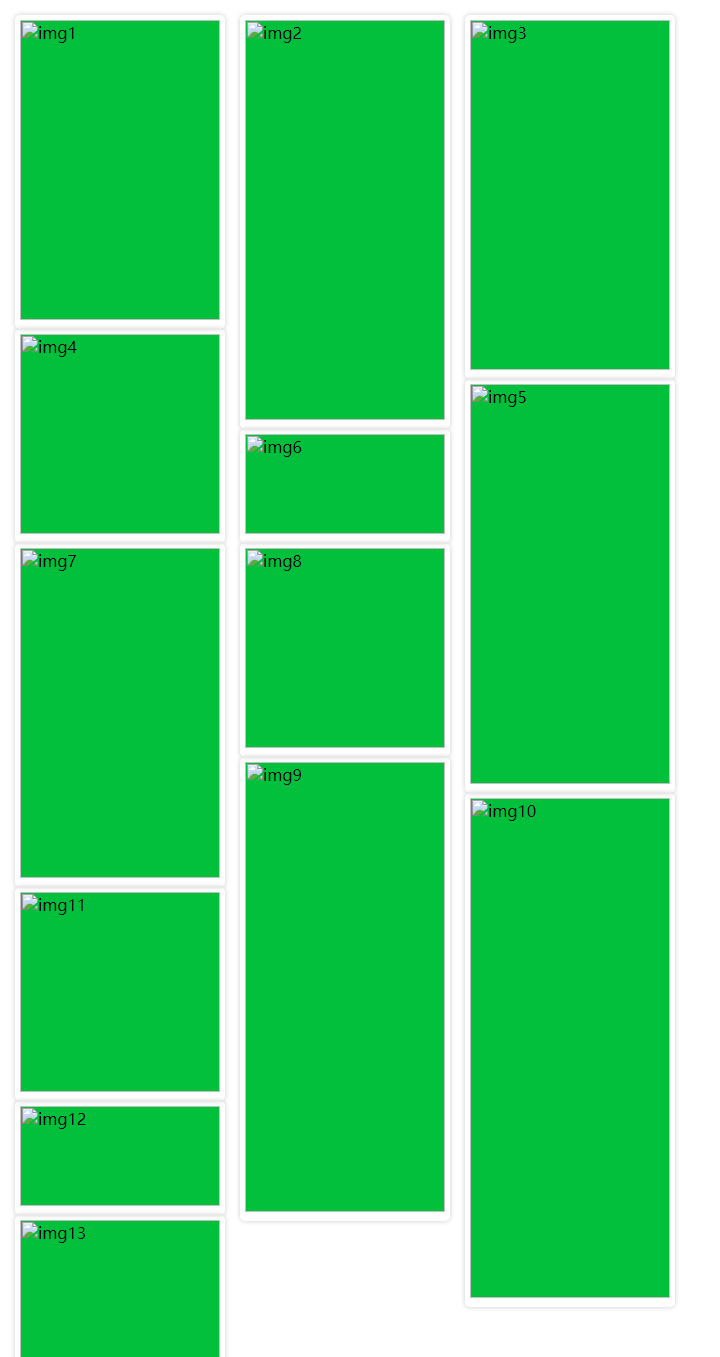
实现效果:
实现代码:
HTML:
<!DOCTYPE html>
<html>
<head>
	<title>瀑布流</title>
	<meta charset="utf-8">
	<script type="text/javascript" src="../jquery/jquery-3.1.1.min.js"></script>
	<link rel="stylesheet" type="text/css" href="waterFall.css">
</head>
<body>
<div id="main">
<div class="pin">
	<div class="box">
		<img src="#" alt="img1" style="background-color: #03c03c;" width="200" height="300">
	</div>
</div>

<div class="pin">
	<div class="box">
		<img src="#" alt="img2" style="background-color: #03c03c;" width="200" height="400">
	</div>
</div>

<div class="pin">
	<div class="box">
		<img src="#" alt="img3" style="background-color: #03c03c;" width="200" height="350">
	</div>
</div>

<div class="pin">
	<div class="box">
		<img src="#" alt="img4" style="background-color: #03c03c;" width="200" height="200">
	</div>
</div>

<div class="pin">
	<div class="box">
		<img src="#" alt="img5" style="background-color: #03c03c;" width="200" height="400">
	</div>
</div>

<div class="pin">
	<div class="box">
		<img src="#" alt="img6" style="background-color: #03c03c;" width="200" height="100">
	</div>
</div>

<div class="pin">
	<div class="box">
		<img src="#" alt="img7" style="background-color: #03c03c;" width="200" height="330">
	</div>
</div>

<div class="pin">
	<div class="box">
		<img src="#" alt="img8" style="background-color: #03c03c;" width="200" height="200">
	</div>
</div>

<div class="pin">
	<div class="box">
		<img src="#" alt="img9" style="background-color: #03c03c;" width="200" height="450">
	</div>
</div>

<div class="pin">
	<div class="box">
		<img src="#" alt="img10" style="background-color: #03c03c;" width="200" height="500">
	</div>
</div>

<div class="pin">
	<div class="box">
		<img src="#" alt="img11" style="background-color: #03c03c;" width="200" height="200">
	</div>
</div>

<div class="pin">
	<div class="box">
		<img src="#" alt="img12" style="background-color: #03c03c;" width="200" height="100">
	</div>
</div>

<div class="pin">
	<div class="box">
		<img src="#" alt="img13" style="background-color: #03c03c;" width="200" height="300">
	</div>
</div>
</div>
<script type="text/javascript" src="waterFall.js"></script>
</body>
</html>
CSS:
*{
	margin: 0;
	padding: 0;
}

#main{
	position: relative;
}

.pin{
	padding: 15px 0 0 15px;
	float: left;
}

.box{
	padding: 5px;
	border-color: 1px solid #ccc;
	box-shadow: 0 0 6px #ccc;
	border-radius: 5px;
}
jQuery:
$(document).ready(function(){
	$(window).on("load", function(){
		imgLocation();
		var dataImg = {"data":[{"src":"alt1.jpg"},{"src":"alt2.jpg"}]};
		// 获取最后一张图片距离顶端的高度 + 它本身高度的一半
		$(window).scroll(function() {
			if(getSideHeight()){
				$.each(dataImg.data, function(index, value){
					var pin = $("<div>").addClass('pin').appendTo('#main');
					var box = $("<div>").addClass('box').appendTo(pin);
					var img = $("<img>").attr('src', 'images/' + $(value).attr("src")).appendTo(box);
				});
				imgLocation();
			}
		});

	});
});

//获取最后一张图片的高度
function getSideHeight(){
	var box = $("pin");
	var lastImgHeight = (box.last().get(0)).offsetTop - Math.floor(box.last().height()/2);
	var documentHeight = $(document).height(); 			//获取当前窗口的高度
	var scrollHeight = $(window).scrollTop(); 			//获取滚动的距离
	return (lastImgHeight < documentHeight + scrollHeight) ? true:false;
}

//图片位置摆放
function imgLocation(){
	var box = $(".pin"); 								//返回一个数值
	var boxWidth  = box.eq(0).width(); 					//每张图片的宽度
	var num = Math.floor($(window).width()/boxWidth); 	//一行能放的图片的个数
	var numArr = [];
	box.each(function(index, value){
		var boxHeight = box.eq(index).height(); 		//获取每张图片的高度
		if(index < num){ 								//第一排
			numArr[index] = boxHeight;
		}
		else{											//第二排
			var minboxHeight = Math.min.apply(numArr,numArr);
			var minIndex = $.inArray(minboxHeight, numArr);
			$(value).css({
				position: "absolute",
				top: minboxHeight,
				left: box.eq(minIndex).position().left
			});
			numArr[minIndex] += box.eq(index).height(); //新高度
		}
	});
}
