centos6.5部署OpenStack单节点
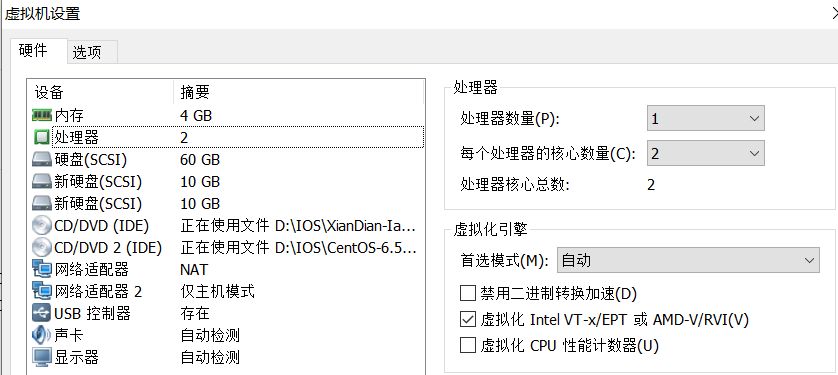
环境
最小化安装的centos6.5
设置如下:
一、修改基本配置
1、修改主机名为controller
[root@localhost ~]# hostname controller
[root@localhost ~]#
[root@localhost ~]# bash
[root@controller ~]#
[root@controller ~]# vi /etc/sysconfig/network
NETWORKING=yes
HOSTNAME=controller
NOZEROCONF=yes
2、配置网络如下
eth0:192.168.100.10
[root@controller ~]# cat /etc/sysconfig/network-scripts/ifcfg-eth0
DEVICE=eth0
HWADDR=00:0C:29:B6:FC:DC
TYPE=Ethernet
UUID=e5cb3a16-ee3e-4f09-a8ef-ffea47ee1311
ONBOOT=yes
NM_CONTROLLED=no
BOOTPROTO=static
IPADDR=192.168.100.10
GATEWAY=192.168.100.2
NETMASK=255.255.255.0
eth1:192.168.200.10
[root@controller ~]# cat /etc/sysconfig/network-scripts/ifcfg-eth1
DEVICE=eth1
HWADDR=00:0C:29:B6:FC:E6
TYPE=Ethernet
UUID=c1771f84-0483-4bc7-aa58-ff15e15c0ead
ONBOOT=yes
NM_CONTROLLED=no
BOOTPROTO=none
IPADDR=192.168.200.10
NETMASK=255.255.255.0
重启网卡配置
# service network restart
3、配置yum源
[root@controller ~]#
[root@controller ~]# cd /opt/
[root@controller opt]#
[root@controller opt]# ls
[root@controller opt]#
[root@controller opt]# mkdir centos
[root@controller opt]# mkdir iaas
[root@controller opt]#
[root@controller opt]# mount -o loop /dev/sr0 /opt/iaas/
[root@controller opt]#
[root@controller opt]# mount -o loop /dev/sr1 /opt/centos/
[root@controller opt]#
[root@controller opt]# df -Th
Filesystem     Type     Size  Used Avail Use% Mounted on
/dev/sda2      ext4      48G  749M   44G   2% /
tmpfs          tmpfs    1.9G     0  1.9G   0% /dev/shm
/dev/sda1      ext4     194M   27M  158M  15% /boot
/dev/sr0       iso9660  2.7G  2.7G     0 100% /opt/iaas
/dev/sr1       iso9660  4.2G  4.2G     0 100% /opt/centos
[root@controller opt]#
[root@controller opt]# cd /etc/yum.repos.d/
[root@controller yum.repos.d]#
[root@controller yum.repos.d]# ls
CentOS-Base.repo  CentOS-Debuginfo.repo  CentOS-Media.repo  CentOS-Vault.repo
[root@controller yum.repos.d]#
[root@controller yum.repos.d]# rm -rf *
[root@controller yum.repos.d]#
# vi local.repo
[centos]
name=centos
baseurl=file:///opt/centos
gpgcheck=0
enabled=1
[iaas]
name=iaas
baseurl=file:///opt/iaas/iaas-repo
gpgcheck=0
enabled=1
退出保存,清除yum本地缓存
# yum clean all
# yum list
4、关闭防火墙,设置开机不启动
[root@controller ~]# service iptables stop
iptables: Setting chains to policy ACCEPT: filter [  OK  ]
iptables: Flushing firewall rules: [  OK  ]
iptables: Unloading modules: [  OK  ]
[root@controller ~]#
[root@controller ~]# chkconfig iptables off
修改selinux模式,临时修改
# setenforce 0
永久修改
# vi /etc/selinux/config
# This file controls the state of SELinux on the system.
# SELINUX= can take one of these three values:
#     enforcing - SELinux security policy is enforced.
#     permissive - SELinux prints warnings instead of enforcing.
#     disabled - No SELinux policy is loaded.
SELINUX=permissive
# SELINUXTYPE= can take one of these two values:
#     targeted - Targeted processes are protected,
#     mls - Multi Level Security protection.
SELINUXTYPE=targeted
5、安装iaas-xiandian
# yum install iaas-xiandian -y
6、修改全局配置文件openrc.sh
# vi /etc/xiandian/openrc.sh
去除配置文件中每一行开头的#
:%s/^.//g
将密码全部设置为000000
:%s/PASS=/PASS=000000/g
修改后的配置文件如下
#--------------------system config--------------------##
#Controller Server Manager IP. example:x.x.x.x
HOST_IP=192.168.100.10

#Controller Server hostname. example:controller
HOST_NAME=controller

#Compute Node Manager IP. example:x.x.x.x
HOST_IP_NODE=192.168.100.10

#Compute Node hostname. example:compute
HOST_NAME_NODE=controller

#--------------------MySQL config---------------------##
#Password for MySQL root user . exmaple:000000
DB_PASS=000000

#--------------------Keystone config------------------##
#Password for Keystore admin user. exmaple:000000
ADMIN_PASS=000000

#Password for Mysql keystore user. exmaple:000000
KEYSTONE_DBPASS=000000

#--------------------Glance config--------------------##
#Password for Mysql glance user. exmaple:000000
GLANCE_DBPASS=000000

#Password for Keystore glance user. exmaple:000000
GLANCE_PASS=000000

#--------------------Nova config----------------------##
#Password for Mysql nova user. exmaple:000000
NOVA_DBPASS=000000

#Password for Keystore nova user. exmaple:000000
NOVA_PASS=000000

#--------------------Neturon config-------------------##
#Password for Mysql neutron user. exmaple:000000
NEUTRON_DBPASS=000000

#Password for Keystore neutron user. exmaple:000000
NEUTRON_PASS=000000

#metadata secret for neutron. exmaple:000000
METADATA_SECRET=000000

#External Network Interface. example:eth1
INTERFACE_NAME=eth1

#First Vlan ID in VLAN RANGE for VLAN Network. exmaple:101
minvlan=

#Last Vlan ID in VLAN RANGE for VLAN Network. example:200
maxvlan=

#--------------------Cinder config--------------------##
#Password for Mysql cinder user. exmaple:000000
CINDER_DBPASS=000000

#Password for Keystore cinder user. exmaple:000000
CINDER_PASS=000000

#Cinder Block Disk. example:md126p3
BLOCK_DISK=sdb1

#--------------------Swift config---------------------##
#Password for Keystore swift user. exmaple:000000
SWIFT_PASS=000000

#The NO1. NODE Object Disk for Swift. example:md126p4. The 2nd will be OBJECT_DISK_2
OBJECT_DISK_1=sdc1

#The NO1. NODE IP for Swift Storage Network. example:x.x.x.x. The 2nd will be STORAGE_LOCAL_NET_IP_2
STORAGE_LOCAL_NET_IP_1=192.168.100.10

#The numbers of all the Swift Nodes. example:3
SWIFT_ZONE=1

#The number of this Swift Node. exmaple:1
SWIFT_NODE=1

#--------------------Heat config----------------------##
#Password for Mysql heat user. exmaple:000000
HEAT_DBPASS=000000

#Password for Keystore heat user. exmaple:000000
HEAT_PASS=000000

#--------------------Ceilometer config----------------##
#Password for Mysql ceilometer user. exmaple:000000
CEILOMETER_DBPASS=000000

#Password for Keystore ceilometer user. exmaple:000000
CEILOMETER_PASS=000000

#token for ceilometer. exmaple:000000
CEILOMETER_TOKEN=000000

#--------------------Sahara config--------------------##
#Password for Mysql sahara user. exmaple:000000
SAHARA_DBPASS=000000

#Password for Keystore sahara user. exmaple:000000
SAHARA_PASS=000000
按照上面配置文件填写,需要在本机上划分连个分区,sdb1和sdc1两个分区。其中,/dev/sdb1为swift对象存储使用的分区,/dev/sdc1为cinder块存储使用的分区。
7、安装qpid服务
# yum install qpid-cpp-server -y
编辑配置文件
# vi /etc/qpidd.conf
修改最后一行
cluster-mechanism=DIGEST-MD5 ANONYMOUS
acl-file=/etc/qpid/qpidd.acl
auth=no
启动服务并设置开机自启动
[root@controller ~]# service qpidd start
Starting Qpid AMQP daemon: [  OK  ]
[root@controller ~]#
[root@controller ~]# chkconfig qpidd on
[root@controller ~]#
8、修改/etc/hosts文件
在最后一行添加如下内容
127.0.0.1   localhost localhost.localdomain localhost4 localhost4.localdomain4
::1         localhost localhost.localdomain localhost6 localhost6.localdomain6
192.168.100.10 controller
9、部署OpenStack
OpenStack服务可以通过脚本一键安装
上传脚本并授权
# chmod 777 iaas-install-all-in-one.sh
# ./iaas-install-all-in-one.sh
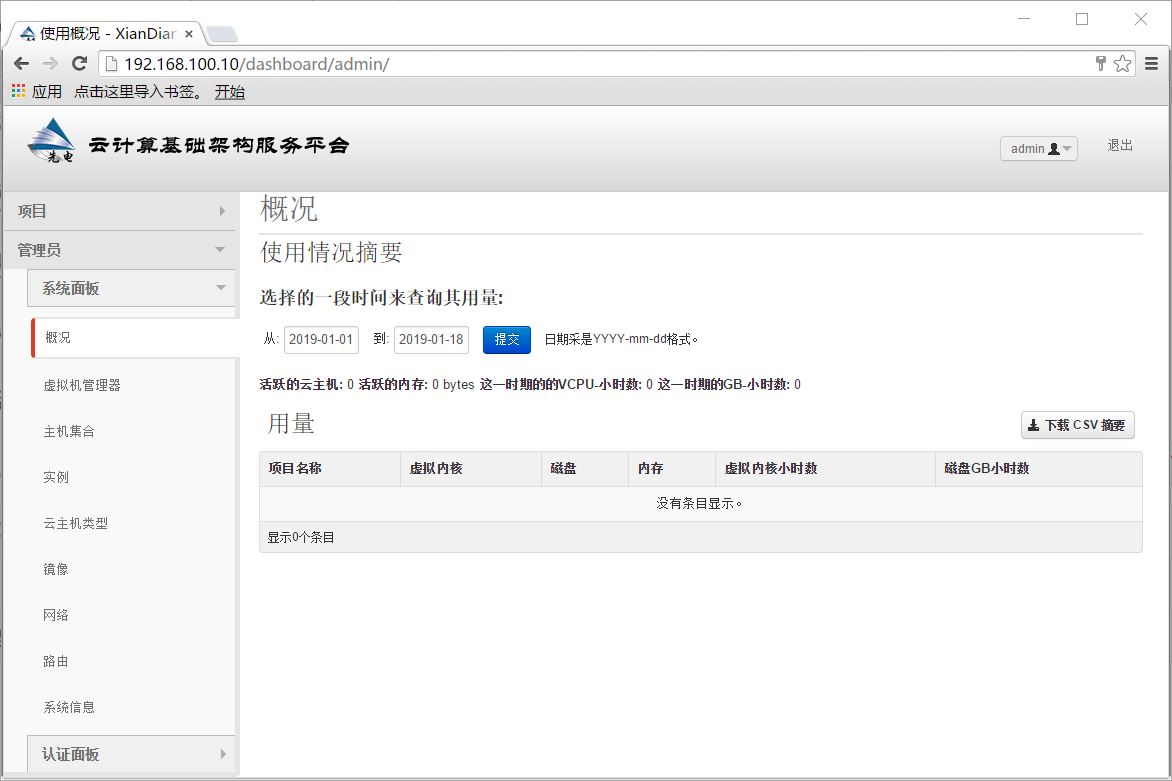
10、验证安装
http://192.168.100.10/dashboard
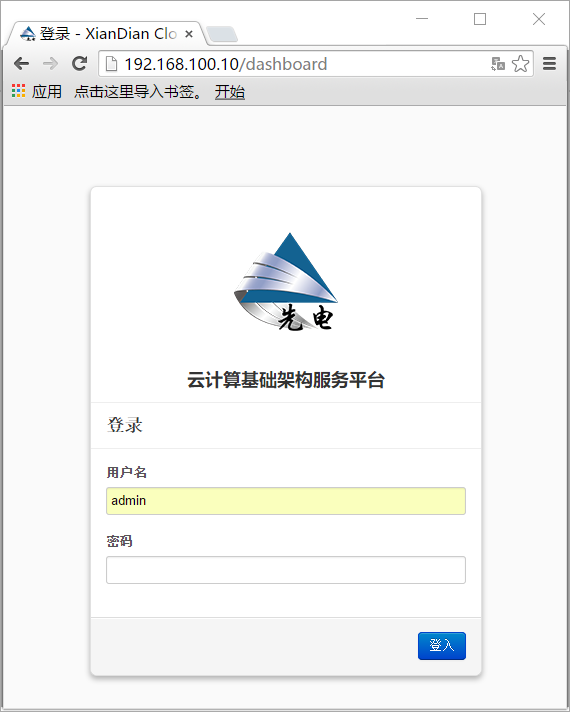
登录系统