TensorFlow图像处理API
TensorFlow提供了一些常用的图像处理接口,可以让我们方便的对图像数据进行操作,以下首先给出一段显示原始图片的代码,然后在此基础上,实践TensorFlow的不同API。
显示原始图片
1 import matplotlib.pyplot as plt
2 import tensorflow as tf
3
4 raw_data = tf.gfile.FastGFile('./new.jpg','rb').read()
5
6 with tf.Session() as sess:
7      img_data = tf.image.decode_jpeg(raw_data)
8      plt.imshow(img_data.eval())
9      plt.show()
运行效果如下图:
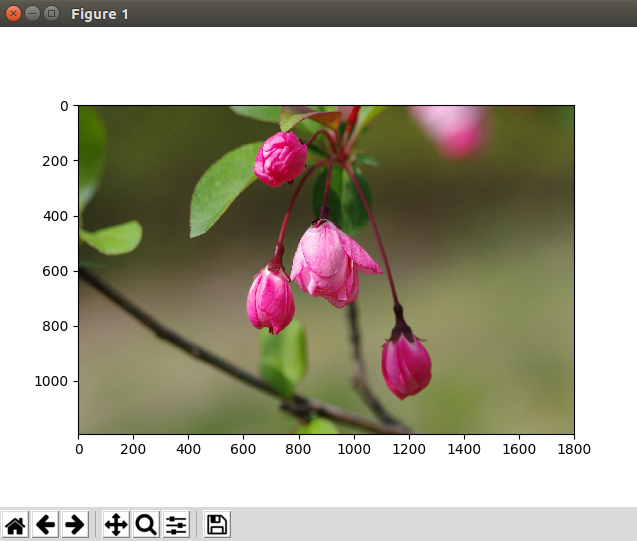
其中tf.gfile.FastGFile,用于读取本地文件,tf.image.decode_jpeg用于将jpeg图片原始数据解码到3-D张量空间,即width, height, channel,最后调用pyplt库显示图片。
图像的缩放
 1 import matplotlib.pyplot as plt
 2 import tensorflow as tf
 3
 4 raw_data = tf.gfile.FastGFile('./new.jpg','rb').read()
 5
 6 with tf.Session() as sess:
 7      img_data = tf.image.decode_jpeg(raw_data)
 8      img_data2 = tf.cast(tf.image.resize_images(img_data, [200, 200]), dtype=tf.uint8);
 9      plt.imshow(img_data2.eval())
10      plt.show()
TensorFlow缩放图片的接口是tf.image.resize_images,[200, 200]是缩放后的目标尺寸,这里调用了tf.cast这个类型转换函数,因为经过缩放处理后,张量类型为float32,而pyplt对图像格式要求uint8,所以必须转一下,否则什么效果,可以自己试一下。
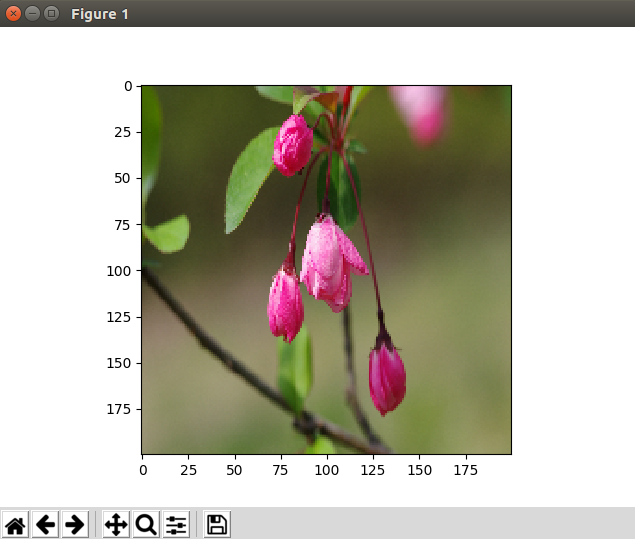
tf.image.resize_images接口可以指定不同的缩放算法,比如:
tf.image.resize_images(img_data, [200, 200], method=tf.image.ResizeMethod.BICUBIC)
图像的反转
图像的反转在各路深度学习算法中就用的比较多了,主要是通过这种操作可以扩大样本的数量,何乐不为。
 1 import matplotlib.pyplot as plt
 2 import tensorflow as tf
 3
 4 raw_data = tf.gfile.FastGFile('./new.jpg','rb').read()
 5
 6 with tf.Session() as sess:
 7      img_data = tf.image.decode_jpeg(raw_data)
 8      img_data2 = tf.cast(tf.image.flip_left_right(img_data), dtype=tf.uint8)
 9      plt.imshow(img_data2.eval())
10      plt.show()
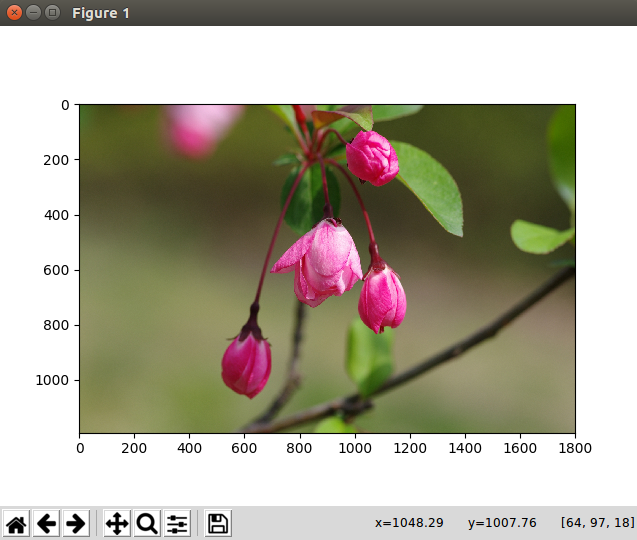
上述代码调用了左右反转接口,TensorFlow还提供了上下反转及随机反转的操作,不再一一尝试。
图像的裁剪
中心裁剪
 1 import matplotlib.pyplot as plt
 2 import tensorflow as tf
 3
 4 raw_data = tf.gfile.FastGFile('./new.jpg','rb').read()
 5
 6 with tf.Session() as sess:
 7      img_data = tf.image.decode_jpeg(raw_data)
 8      img_data2 = tf.cast(tf.image.resize_image_with_crop_or_pad(img_data, 200, 200), dtype=tf.uint8)
 9      plt.imshow(img_data2.eval())
10      plt.show()
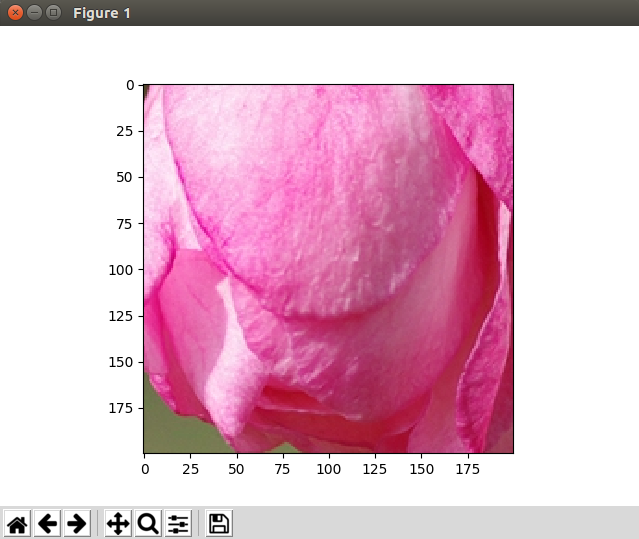
tf.image.resize_image_with_crop_or_pad函数可以用来进行图像裁剪或扩展,这个是由用户的目标宽度和高度决定的,另外无论是裁剪还是扩展都是从图片中心为基准的。
指定位置裁剪
 1 import matplotlib.pyplot as plt
 2 import tensorflow as tf
 3
 4 raw_data = tf.gfile.FastGFile('./new.jpg','rb').read()
 5
 6 with tf.Session() as sess:
 7      img_data = tf.image.decode_jpeg(raw_data)
 8      img_data2 = tf.cast(tf.image.crop_to_bounding_box(img_data, 0, 0, 200, 200), dtype=tf.uint8)
 9      plt.imshow(img_data2.eval())
10      plt.show()
11
12 ~
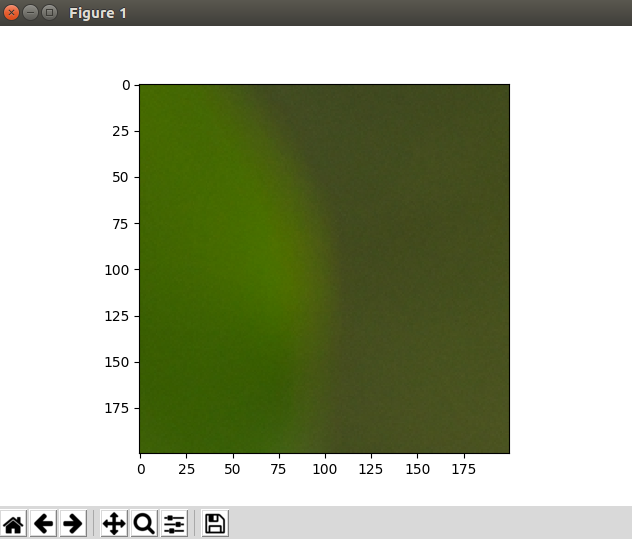
上述代码指定左上角的200px方形box进行裁剪,指定目标范围必须合理,否则会产生异常。
图像上画框
 1 import matplotlib.pyplot as plt
 2 import tensorflow as tf
 3
 4 raw_data = tf.gfile.FastGFile('./new.jpg','rb').read()
 5
 6 with tf.Session() as sess:
 7      img_data = tf.cast(tf.expand_dims(tf.image.decode_jpeg(raw_data), 0), tf.float32)
 8      boxes = tf.constant([[[0.4, 0.4, 0.5, 0.5], [0.5, 0.5, 0.6, 0.6]]])
 9      img_data2 = tf.cast(tf.image.draw_bounding_boxes(img_data, boxes), dtype=tf.uint8)
10      plt.imshow(img_data2.eval()[0])
11      plt.show()
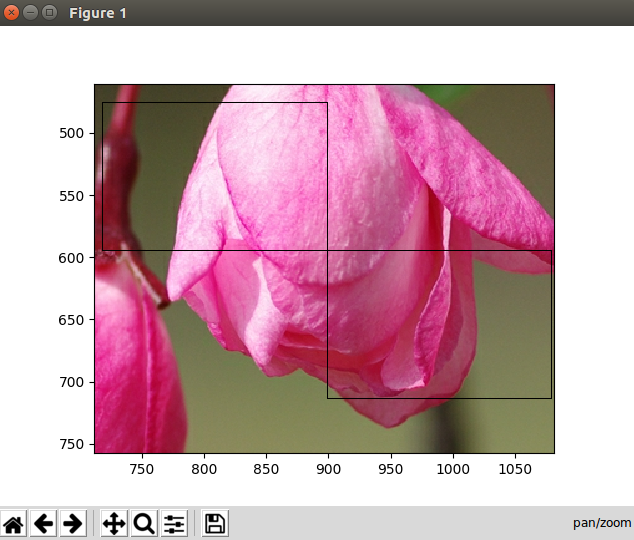
这段代码有几个地方要注意一下,在jpeg解码后,调用了tf.expand_dims,这个函数的意思是在指定的位置增加一个维度,因为解码后是3维数据,在0位置增加一维,事实上增加了一个batch维度,如此操作主要是为了迎合后面的画框函数!boxes操作节点定义了两个方框,用0~1的浮点数标识box的位置比例,最后的图片显示位置也要注意,输出是四维,请取出第一个图片显示。下图为显示效果,手工放大图片后的效果,否则,1px方框在plt中可能被缩略掉,请注意!
