爬虫代理和验证码识别
代理操作
- 目的:为解决ip被封的情况
概念汇总:

- 什么是代理?
    - 代理服务器

- 代理和爬虫之间的关联是什么?
    - 网络爬虫是需要短时间内发送高频的请求,为了保障ip不被封掉,使用代理更换请求对应的ip

- 免费代理ip的平台
    - www.goubanjia.com
    - 快代理
    - 西刺代理
    - 代理精灵

- 代理ip的匿名度
    - 透明:使用了透明的代理ip,则对方服务器知道你当前发起的请求使用了代理服务器并且可以监测到你真实的ip
    - 匿名:知道你使用了代理服务器不知道你的真实ip
    - 高匿:不知道你使用了代理服务器也不知道你的真实ip

- 代理ip的类型
    - http:该类型的代理IP只可以转发http协议的请求
    - https:只可以转发https协议的请求
构建一个标准的代理ip池
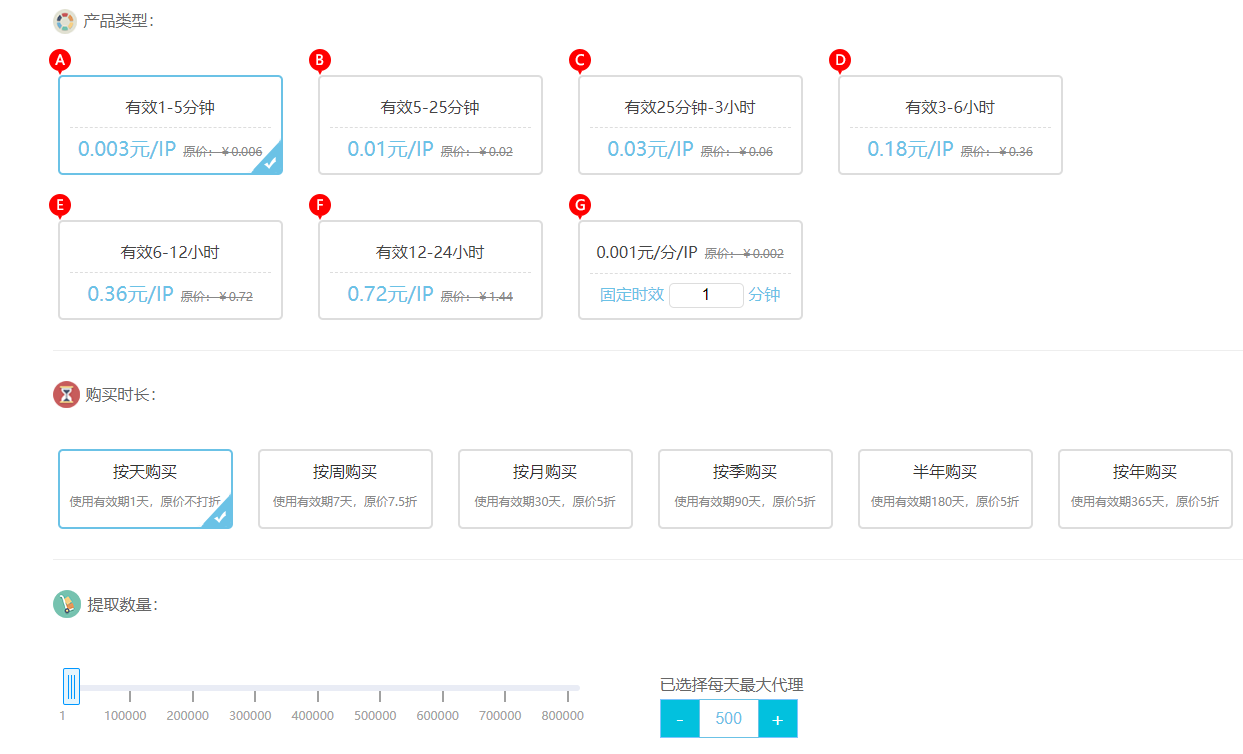
- 1.取各大平台中爬取大量的免费代理ip(代理精灵购买:http://http.zhiliandaili.cn/Shop-index.html)
- 2.校验出可用的代理ip
- 使用每一个代理ip进行请求发送,监测响应状态码是否为200
- 3.将可用的代理ip进行存储(redis)

# 生成代理列表
all_ips = []
# 这个url就是购买生成的
ip_url = 'xxxx'
page_text = requests.get(ip_url,headers=headers).text
tree = etree.HTML(page_text)
ip_list = tree.xpath('//body//text()')
for ip in ip_list:
    ip = {'https':ip}
    all_ips.append(ip)
# 尝试爬取西刺
url = 'https://www.xicidaili.com/nn/%d'
for page in range(1,100):
    print('正在爬取第{}页的数据!'.format(page))
    new_url = format(url%page)
    page_text = requests.get(url=new_url,headers=headers,proxies=random.choice(all_ips)).text
    tree = etree.HTML(page_text)
    tr_list = tree.xpath('//*[@id="ip_list"]//tr')[1:]
    for tr in tr_list:
        ip = tr.xpath('./td[2]/text()')[0]
        port = tr.xpath('./td[3]/text()')[0]
        ip_type = tr.xpath('./td[6]/text()')[0]

        dic = {
            'ip':ip,
            'port':port,
            'type':ip_type
        }
        all_ips.append(dic)

print(len(all_ips))
Cookie
- cookie是保存在客户端的键值对
# 爬取雪球网中的新闻数据:https://xueqiu.com/

#通过抓包工具捕获的基于ajax请求的数据包中提取的url
url = 'https://xueqiu.com/v4/statuses/public_timeline_by_category.json?since_id=-1&max_id=20343389&count=15&category=-1'
json_data = requests.get(url=url,headers=headers).json()
print(json_data)

# 报错:
{'error_description': '遇到错误,请刷新页面或者重新登录帐号后再试', 'error_uri': '/v4/statuses/public_timeline_by_category.json', 'error_data': None, 'error_code': '400016'}
解决方法:
- 手动处理:
- 通过抓包工具将请求携带的cookie添加到headers中
- 弊端:cookie会有有效时长,cookie还是动态变化
- 自动处理:
- 使用session进行cookie的自动保存和携带
- session是可以进行请求发送的,发送请求的方式和requests一样
- 如果使用session进行请求发送,在请求的过程中产生了cookie,则该cookie会被自动存储到session对象中
- 如果使用了携带cookie的session再次进行请求发送,则该次请求就时携带cookie进行的请求发送
#创建一个session对象
session = requests.Session()
#将cookie保存到session对象中
first_url = 'https://xueqiu.com/'
session.get(url=first_url,headers=headers)#为了获取cookie且将cookie存储到session中

url = 'https://xueqiu.com/v4/statuses/public_timeline_by_category.json?since_id=-1&max_id=20343389&count=15&category=-1'
json_data = session.get(url=url,headers=headers).json()#携带cookie发起的请求
print(json_data)
验证码的识别
超级鹰
注册 - 充值 - 生成软件id - 下载python的示例代码
云打码
# 超级鹰python开发文档
import requests
from hashlib import md5

class Chaojiying_Client(object):

    def __init__(self, username, password, soft_id):
        self.username = username
        password =  password.encode('utf8')
        self.password = md5(password).hexdigest()
        self.soft_id = soft_id
        self.base_params = {
            'user': self.username,
            'pass2': self.password,
            'softid': self.soft_id,
        }
        self.headers = {
            'Connection': 'Keep-Alive',
            'User-Agent': 'Mozilla/4.0 (compatible; MSIE 8.0; Windows NT 5.1; Trident/4.0)',
        }

    def PostPic(self, im, codetype):
        """
        im: 图片字节
        codetype: 题目类型 参考 http://www.chaojiying.com/price.html
        """
        params = {
            'codetype': codetype,
        }
        params.update(self.base_params)
        files = {'userfile': ('ccc.jpg', im)}
        r = requests.post('http://upload.chaojiying.net/Upload/Processing.php', data=params, files=files, headers=self.headers)
        return r.json()

    def ReportError(self, im_id):
        """
        im_id:报错题目的图片ID
        """
        params = {
            'id': im_id,
        }
        params.update(self.base_params)
        r = requests.post('http://upload.chaojiying.net/Upload/ReportError.php', data=params, headers=self.headers)
        return r.json()
# 获取图片验证码
def getCodeImg(imgPath,imgType):
    chaojiying = Chaojiying_Client('自己的user','自己的pwd','软件id')
    im = open(imgPath,'rb').read()
    print(chaojiying.PostPic(im, imgType))
    # {'err_no': 0, 'err_str': 'OK', 'pic_id': '9076215542357600161', 'pic_str': 'zul0', 'md5': '3b5e4f03925d57f639089122bc55dddf'}
    return chaojiying.PostPic(im, imgType)['pic_str'] # 打印出字典,通过pic_str取值
# 古诗词网的验证码识别操作(简单的验证码)
url = 'https://so.gushiwen.org/user/login.aspx?from=http://so.gushiwen.org/user/collect.aspx'
page_text = requests.get(url=url,headers=headers).text
tree = etree.HTML(page_text)
img_src = 'https://so.gushiwen.org'+tree.xpath('//*[@id="imgCode"]/@src')[0]
img_data = requests.get(url=img_src,headers=headers).content
with open('codeImg.jpg','wb') as fp:
    fp.write(img_data)
# 验证码识别
getCodeImg('codeImg.jpg',1004)

# 模拟登陆+验证码识别
session = requests.Session() # 创建session对象

# 和上面一样
url = 'https://so.gushiwen.org/user/login.aspx?from=http://so.gushiwen.org/user/collect.aspx'
page_text = session.get(url=url,headers=headers).text
tree = etree.HTML(page_text)
img_src = 'https://so.gushiwen.org'+tree.xpath('//*[@id="imgCode"]/@src')[0]
img_data = session.get(url=img_src,headers=headers).content
with open('codeImg.jpg','wb') as fp:
    fp.write(img_data)

# 解析动态变化的请求参数
__VIEWSTATE = tree.xpath('//input[@id="__VIEWSTATE"]/@value')[0]
__VIEWSTATEGENERATOR = tree.xpath('//input[@id="__VIEWSTATEGENERATOR"]/@value')[0]

# 验证码识别,和上面相同
code_text = getCodeImg('codeImg.jpg',1004)
print(code_text)

# post请求
login_url = 'https://so.gushiwen.org/user/login.aspx?from=http%3a%2f%2fso.gushiwen.org%2fuser%2fcollect.aspx'
# 动态加载的参数会被隐藏在前台页面中
data = {
    '__VIEWSTATE': __VIEWSTATE,
    '__VIEWSTATEGENERATOR': __VIEWSTATEGENERATOR,
    'from': 'http://so.gushiwen.org/user/collect.aspx',
    'email': 'www.zhangbowudi@qq.com',
    'pwd': 'bobo328410948',
    'code': code_text,
    'denglu': '登录',
}
# 登陆成功后对应的首页源码保持到一个html文件中
main_page_data = session.post(url=login_url,headers=headers,data=data).text
with open('./古诗词模拟登陆测试.html','w',encoding='utf-8') as fp:
    fp.write(main_page_data)
基于多线程的异步爬虫
使用Flask后端服务器模拟下
from flask import Flask
from time import sleep
app = Flask(__name__)

@app.route('/test1')
def test1():
    sleep(2)
    return 'test 01'
@app.route('/test2')
def test2():
    sleep(2)
    return 'test 02'
@app.route('/test3')
def test3():
    sleep(2)
    return 'test 03'

app.run()
同步的情况下:
import time
start_time = time.time()
urls = [
    'http://127.0.0.1:5000/test1',
    'http://127.0.0.1:5000/test2',
    'http://127.0.0.1:5000/test3'
]
for url in urls:
    page_text = requests.get(url,headers=headers).text
    print(page_text)

print(time.time()-start_time)

# test 01
# test 02
# test 03
# 6.028888463973999
异步测试:
from multiprocessing.dummy import Pool

# 要使用到map
def my_requests(url):
    return requests.get(url=url,headers=headers).text

start_time = time.time()
urls = [
    'http://127.0.0.1:5000/test1',
    'http://127.0.0.1:5000/test2',
    'http://127.0.0.1:5000/test3'
]

pool = Pool(3)
# map 两个参数
# 参数一:自定义函数,必须只可以有一个参数
# 参数二:列表或者字典
# map的作用:让参数一表示的自定义函数异步处理参数二对应的列表或者字典中的元素
page_texts = pool.map(my_requests,urls)
print(page_texts)

print(time.time()-start_time)

# ['test 01', 'test 02', 'test 03']
# 2.0162312984466553


