

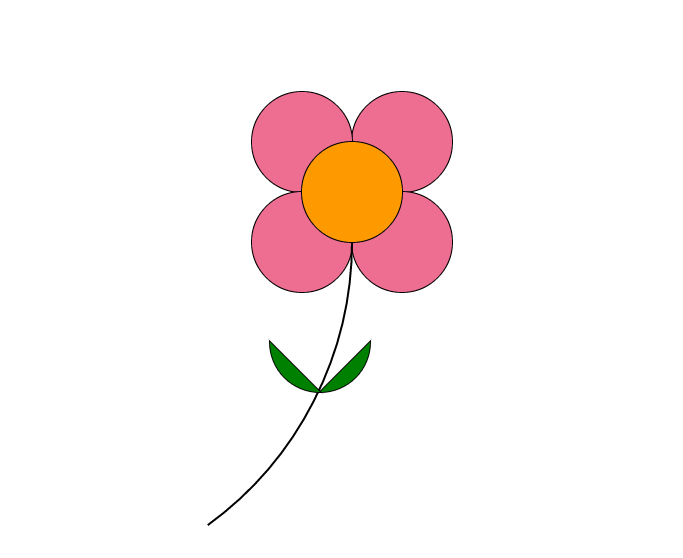
使用canvas技术在网页上绘制鲜花
绘制之后的效果图:
1.创建 canvas元素
向 HTML 5 页面添加 canvas 元素。
规定元素的 id、宽度和高度:
|
<canvas id="canvas" width="1024" height="768" style="border:1px solid #aaa;display:block;margin:50 auto;"></canvas> |
2.在JS页面中就行绘画操作
|
var context=canvas.getContext("2d"); |
3. 通过 JavaScript 来绘制花瓣
canvas 元素本身是没有绘图能力的。所有的绘制工作必须在 JavaScript 内部完成:
首先绘制一个花瓣,花瓣的圆心坐标为(450,200),花瓣的半径为50,花瓣的填充颜色为粉红色。其他花瓣及花蕊绘制方法一样,代码如下:
|
context.beginPath(); context.arc(450,200,50,0,0.5*Math.PI,true); context.stroke(); context.fill(); |
源代码:
<!DOCTYPE html>
<html>
<head>
<title>canvas绘制鲜花</title>
</head>
<body>
<canvas id="canvas" width="1024" height="768" style="border:1px solid #aaa;display:block;margin:50 auto;"></canvas>
<script>
var canvas=document.getElementById("canvas");
var context=canvas.getContext("2d");
context.lineWidth=2;
context.strokeStyle="black";
context.fillStyle = "#ED6E91";

//花瓣右上
context.beginPath();
context.arc(550,200,50,0,2*Math.PI);
context.stroke();
context.fill();

//花瓣右下
context.beginPath();
context.arc(550,300,50,0,2*Math.PI);
context.stroke();
context.fill();

//花瓣左上
context.beginPath();
context.arc(450,200,50,0,0.5*Math.PI,true);
context.stroke();
context.fill();

//花瓣左下
context.beginPath();
context.arc(450,300,50,0,1.5*Math.PI);
context.stroke();
context.fill();

//花蕊
context.beginPath();
context.fillStyle = "#f90";
context.arc(500,250,50,0,2*Math.PI);
context.stroke();
context.fill();

//花径
context.beginPath();
context.arc(150,300,350,0,0.3*Math.PI);
context.stroke();

//右边的叶子
context.beginPath();
context.fillStyle = "green";
context.arc(468,400,50,0,0.5*Math.PI);
context.closePath();
context.stroke();
context.fill();

//左边的叶子
context.beginPath();
context.fillStyle = "green";
context.arc(468,400,50,0.5*Math.PI,Math.PI,false);
context.closePath();
context.stroke();
context.fill();
</script>
</body>
</html>
