

Spring Boot2.4双数据源的配置
相较于单数据源,双数据源配置有时候在数据分库的时候可能更加有利
但是在参考诸多博客以及书籍(汪云飞的实战书)的时候,发现对于spring boot1.X是完全没问题的,一旦切换到spring boot2.X的时候,就会报出无法实例化出数据源对象等各种问题。我猜测这是无法很好的读取到数据源配置信息的关系。
目前来说,官方文档示例比较好的解决了这个问题
配置双数据源
这里使用java配置方式,需要注意以下几点:
- 主数据源要加上
@Primary注解 - 需要通过构建
DataSourceProperties这个Bean来构建一个数据源,这也是官方文档的示例配置方式,如果采用1.X的方式,很可能会报出jdbcUrl is required with driverClassName这个错误,之后的DataSourceBean,EntityFactoryBean等都会无法实例化
@Configuration
public class DataSourceConfig {
    @Bean
    @Primary
    @ConfigurationProperties("app.datasource.primary")
    public DataSourceProperties firstDataSourceProperties() {
        return new DataSourceProperties();
    }

    @Bean(name = "primaryDataSource")
    @Primary
    @ConfigurationProperties("app.datasource.primary")
    public DataSource primaryDataSource() {
        return firstDataSourceProperties().initializeDataSourceBuilder().build();
    }

    @Bean
    @ConfigurationProperties("app.datasource.secondary")
    public DataSourceProperties secondDataSourceProperties() {
        return new DataSourceProperties();
    }


    @Bean(name = "secondaryDataSource")
    @ConfigurationProperties("app.datasource.secondary")
    public DataSource secondaryDataSource() {
        return secondDataSourceProperties().initializeDataSourceBuilder().build();
    }
}
配置yml文件
就是在application.yml文件里写一些数据库的配置信息,这个应该都比较轻车熟路了。关于是使用properties和yml方式,看个人习惯
spring:
  jpa:
    show-sql: true
    hibernate:
      ddl-auto: update
app:
  datasource:
    primary:
      url: jdbc:mysql://localhost:3306/kpimanage
      username: root
      password: root123
      maximum-pool-size: 30
      driver-class-name: com.mysql.jdbc.Driver
    secondary:
      url: jdbc:mysql://localhost:3306/local
      username: root
      password: root123
      maximum-pool-size: 30
      driver-class-name: com.mysql.jdbc.Driver
配置Spring Jpa
主要是以下几点:
- 启动事务管理
- 定义entity包。也可以不定义,使用默认扫描的方式
- 定义repository包。也可以不定义,使用默认扫描的方式
- 自定义
EntiryManagerFactoryBean - 注意这里只是对使用spring data jpa来说有用,如果使用mybatis的话,根据自身情况配置,这里的配置完全不适用
@Configuration
@EnableTransactionManagement//开启事务管理
@EnableJpaRepositories(basePackages = "com.luzj.dblsource.repository.primary",
entityManagerFactoryRef = "entityManagerFactoryPrimary",
transactionManagerRef = "transactionManagerPrimary")//jpa 配置>repository位置,实体管理Factory配置,事务管理配置
public class PrimaryConfig {

    @Autowired @Qualifier("primaryDataSource")
    DataSource primaryDataSource;

    // 自定义EntityManagerFactory
    @Primary
    @Bean(name = "entityManagerFactoryPrimary")
    public LocalContainerEntityManagerFactoryBean entityManagerFactoryPrimary (EntityManagerFactoryBuilder builder) {
        return builder
                .dataSource(primaryDataSource)
                .packages("com.luzj.dblsource.entity.primary") //设置实体类所在位置
                .persistenceUnit("primaryPersistenceUnit")
                .build();
    }

    //自定义EntityManager
    @Primary
    @Bean(name = "entityManagerPrimary")
    public EntityManager entityManager(EntityManagerFactoryBuilder builder) {
        return entityManagerFactoryPrimary(builder).getObject().createEntityManager();
    }

    //自定义TransactionManager
    @Primary
    @Bean(name = "transactionManagerPrimary")
    public PlatformTransactionManager transactionManagerPrimary(EntityManagerFactoryBuilder builder) {
        JpaTransactionManager transactionManager = new JpaTransactionManager();
        transactionManager.setEntityManagerFactory(entityManagerFactoryPrimary(builder).getObject());
        return transactionManager;
    }
}
同时,第二数据源也如此配置
@Configuration
@EnableTransactionManagement
@EnableJpaRepositories(basePackages = "com.luzj.dblsource.repository.secondary",
entityManagerFactoryRef = "entityManagerFactorySecondary",
transactionManagerRef = "transactionManagerSecondary")
public class SecondaryConfig {
//...
}
测试
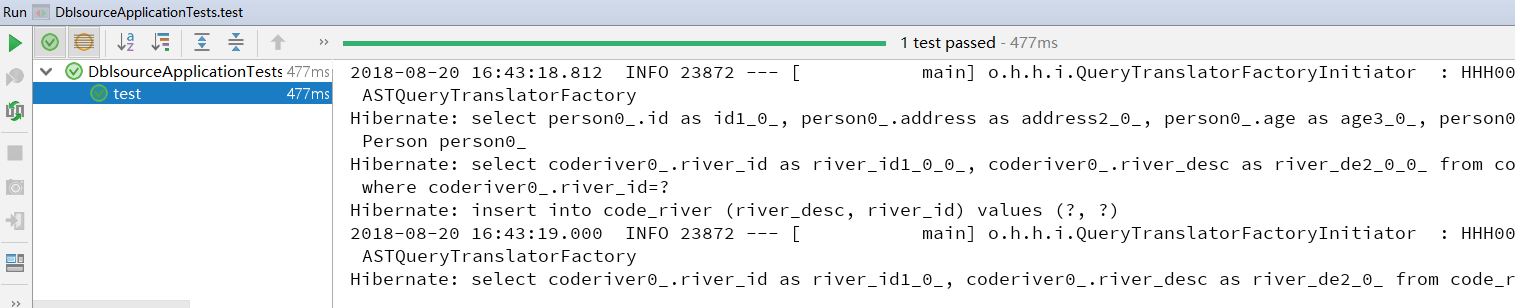
配置基本到此结束,下面分别在两个数据库建立不同的table,然后使用repository对表进行操作,看是否能够顺利运行
primary数据库建立Person表以及repository
@Entity
public class Person {
    @Id
    @GeneratedValue
    private Integer id;

    private String address;

    private Integer age;

    private String name;
    //setter getter...
}
public interface PersonRepository extends JpaRepository<Person,Integer> {
}
secondary数据库建立code_river表
@Entity
@Table(name = "code_river")
public class CodeRiver {
    @Id
    @Column(name = "river_id")
    private String id;

    @Column(name = "river_desc")
    private String riverDesc;
    //setter getter ...
}
public interface CodeRiverRepository extends JpaRepository<CodeRiver,String> {
}
单元测试
@RunWith(SpringRunner.class)
@SpringBootTest
public class DblsourceApplicationTests {

	@Test
	public void contextLoads() {
	}
	@Autowired
	private PersonRepository personRepository;
	@Autowired
	private CodeRiverRepository codeRiverRepository;

	@Test
	public void test(){
		personRepository.save(new Person("湖南",23,"章邯"));
		personRepository.save(new Person("纽约",27,"john"));
		personRepository.save(new Person("香港",43,"张一山"));
		personRepository.save(new Person("北京",44,"张朝阳"));
		personRepository.save(new Person("深圳",53,"马化腾"));

		Assert.assertEquals(5,personRepository.findAll().size());

		codeRiverRepository.save(new CodeRiver("area110","阿姆斯特朗回旋加速过海"));
		Assert.assertEquals(1,codeRiverRepository.findAll().size());
	}
}
小结
主要介绍了在springboot 2.4环境下多数据源的配置方式
代码地址
参考
我变秃了,但是没变强
